DIY Eraser and Linoleum Block Stamps
- Carly Holzner

- Jul 20, 2024
- 2 min read
You may have done a version of this craft back in grade school or high school. Either way, I recommend you pick up the linoleum block and get carving because 1) the results turn out amazing and 2) the possibilities are ENDLESS!

Supplies:
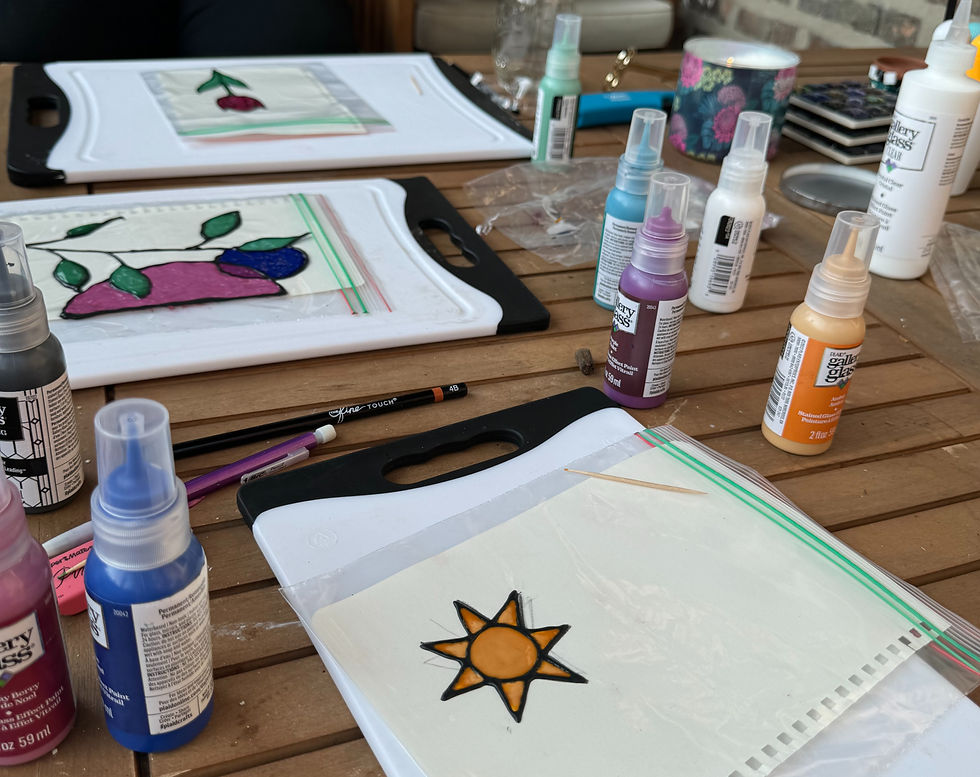
Linoleum Block Stamps
Parchment paper or paper plates to spread the ink on
Scissors - if you want to cut your block into smaller shapes
Eraser Stamps
Pencils
Medium to Stamp on
Optional
Transfer paper - if you want to trace a design onto your linoleum block before carving
Acrylic Markers - to add in additional details once the ink dries on your prints
Micron pens - to add any finer details after the ink dried on your prints

Process:
Choose the design you'd like to carve into your stamp
If the orientation of your design matters, make sure you draw it BACKWARDS so that when you stamp it, it faces the right way. (i.e. for letters)
Draw your design on either your eraser or linoleum block
If you'd like to trace a design onto your stamp before carving, use the carbon tracing paper. Have your linoleum block or eraser at the first layer, then place your tracing paper over it, and place your design over the tracing paper. Then trace the lines of the artwork with some pressure and you should see the outlines appear on the linoleum or erasers.
Before carving, decide if you want the white space or your drawn lines to appear on your print. Whichever you WANT to appear in ink is what you do NOT carve out.
Once you have your design carved out, the next step is adding ink.
For erasers, I recommend using stamp pads
For linoleum blocks, I recommend rolling your ink onto parchment paper or a paper plate using the ink rollers linked above.
Once you have the stamp saturated with ink, apply it to your medium of choice and apply a bit of pressure then carefully lift it off to reveal your masterpiece!
I typically get 1-2 prints per roll of ink depending on how saturated you want your print to be.
Repeat steps 4 & 5 as many times as you'd like!
TIP: I wouldn't recommend restamping the same area if you find there was not enough ink for the print. It's very difficult to have the stamp line up exactly the second time!
Once all of your prints are done, leave them to dry. I'd recommend heat treating any prints on fabric unless the ink you use explicitly says it is not needed.
Enjoy!
xx Carly


Comments