The Cutest Clay Magnets You've Ever Seen
- Carly Holzner

- Jul 20, 2024
- 2 min read
Have you seen everyone and their mother making things out of clay lately? Me too...because it's so fun! This was one of the most forgiving crafts I've done as part of my monthly Crafts with Carly series. Even if you feel like you're not the best drawer, you'd be surprised what you can create with sculpting clay! The tiniest of details added really makes a difference :)

If you're a visual learner, here's my Instagram process video.
Supplies:
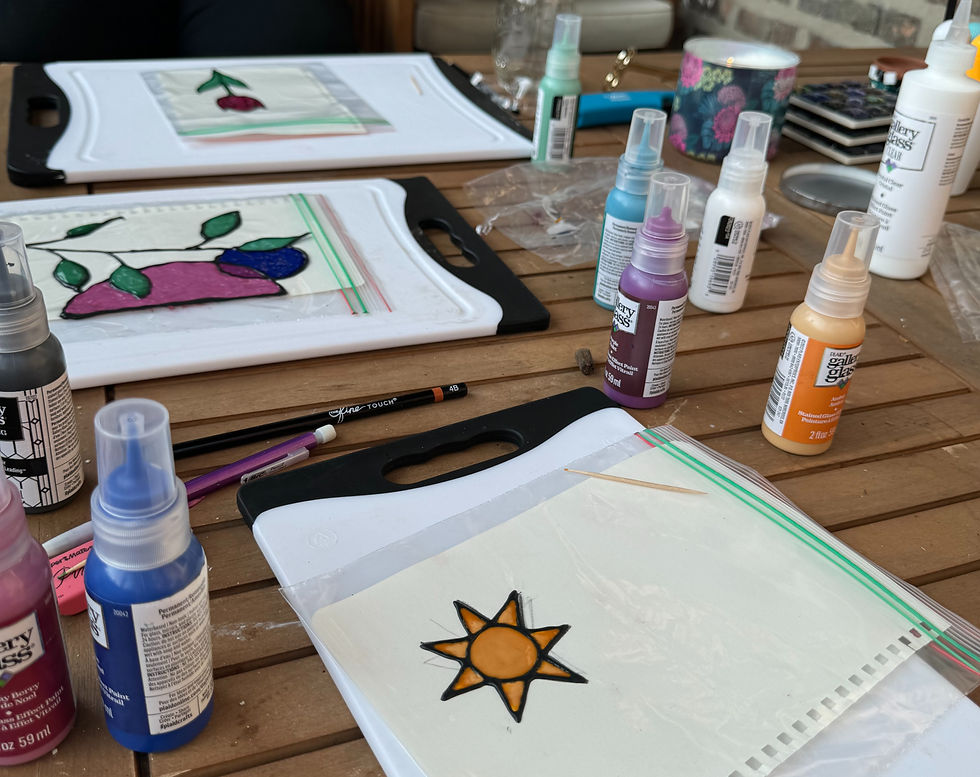
Clay
Colored Polymer Clay - Won't dry out; have to bake it in the oven but then no paint needed
White Polymer Clay - Won't dry out; have to bake it in the oven, then can paint any color you want
Colored air-dry clay - Don't have to bake in the oven; leave out to dry for ~24 hours and no paint needed
Air-dry clay - Don't have to bake in the oven; leave out to dry for ~24 hours and then paint any color you want
Super glue or E6000
TIP: Do NOT use superglue! Learned this the hard way - the clay will eventually fall off the magnet :)
Cutting boards to roll clay out on
Process:
Pick which type of clay you'd like to work with. See the pros and cons of each above in the supplies list.
Preheat your oven if you are using Polymer clay - follow the packaging instructions for temperature.
Pick out the design you'd like to create - you can check out my Pinterest board for inspo!
Knead the clay a good amount to avoid cracking in the baking process and to make it easier to work with.
Create your clay master pieces, then arrange them on a baking sheet lined with parchment paper.
Place your baking sheet in the oven and bake according to the packaging instructions.
Once done baking and cooled, apply a magnet to the back of your piece using super glue or E6000.
Once your magnet is securely on and the glue is dried, apply glaze to the front of the clay using a paint brush. This will give it a nice, finished look.
Wait for glaze to dry and enjoy!
xx Carly


Comments